15 Software
These six programs in Applesoft Basic will help you construct, test, and
use your homebuilt controllers. The six listings are:
Controller CheckoutAll but the Drawing and Digitizer programs can easily be converted into any other version of Basic with only a few changes. The Drawing Program contains many graphics handling functions for the Apple, and the Digitizer has several disk handling instructions. These listings will require a little more work to adapt them to other computers.
Correction Cap Calculation
Linearity Test
Drawing Program
Digitizer
Annunciator Checkout
The use of each of the programs is detailed in the project chapter in which it is first required. The materials in this chapter are therefore limited to the organization of the program, any unusual features, and the major variables. This information should help you understand the listings and make modifications in them to suit your needs.
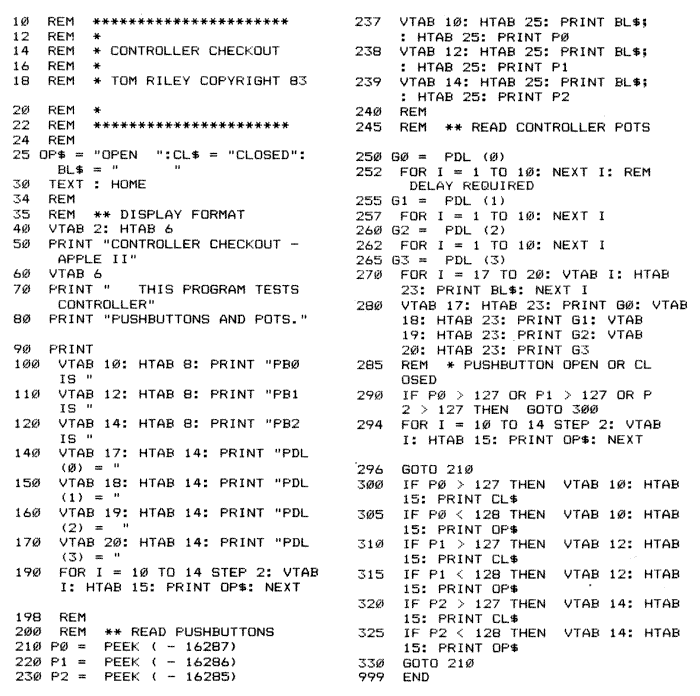
CONTROLLER CHECKOUT
With this program you can check out all the pushbuttons and game control pots on the controllers you build. You will also need it to make mechanical adjustments. The listing is introduced in chapter 1 and referred to in almost all subsequent chapters.
Step by Step Through the Listing
The program sets constants (line 280), clears the screen (line 300), and displays a screen format giving the pushbutton and game control numbers (lines 40 to 190). The pushbuttons are read (lines 210 to 230) and the values are displayed in a cleared space on the screen (lines 237 to 239).
The game control pots are then read (lines 250 to 265). Note the delays between readings (lines 252, 257, 262). The space to display this information is cleared and the values are entered (lines 270 to 280). Next the pushbuttons are checked to see if any have been pressed and the appropriate word, OPEN or CLOSED, is displayed (lines 290 to 325). The process is repeated in an endless loop (line 330).
Using the Program
When you are confident you have wired your new controller correctly, plug it in, turn on the computer, and run this program. If the computer doesn't start up in the normal way, turn it off immediately and recheck all your work on the controller.
When everything is in order, run the checkout program. Try moving the pots and pressing the pushbuttons to see if they function properly. If the new device requires mechanical adjustment, you can do this while reading the game control values from the screen.
Variables
| Variable |
Line |
Description |
| OP$ |
25 |
A string saying OPEN |
| CL$ |
25 |
A string saying CLOSED |
| BL$ |
25 |
Blank spaces to remove words |
| P0 |
210 |
The reading of pushbutton 0 |
| P1 |
220 |
The reading of pushbutton 1 |
| P2 |
230 |
The reading of pushbutton 2 |
| G0 |
250 |
The reading of game control 0 |
| G1 |
255 |
The reading of game control 1 |
| G2 |
260 |
The reading of game control 2 |
| G3 |
265 |
The reading of game control 3 |
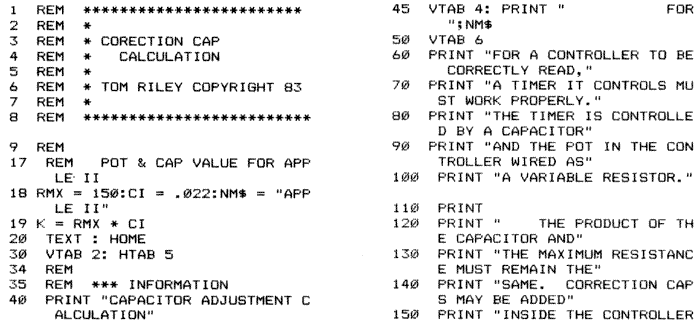
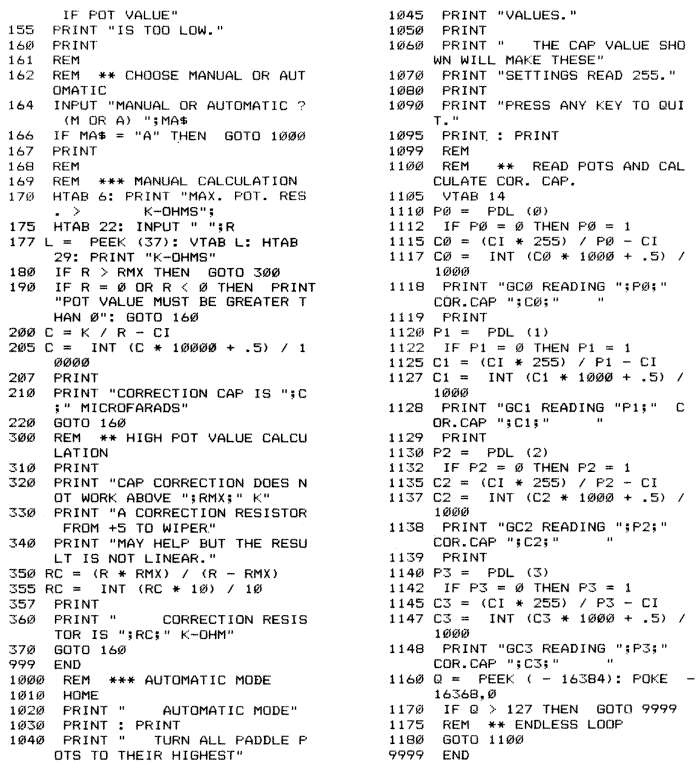
CORRECTION CAP CALCULATION
This program calculates the value of the correction caps needed when you
choose a potentiometer with a lower maximum value than the standard paddle
pots for the computer. This approach works only for computers that have timer
game control circuits, like Apple, Atari, and the Commodore VIC-20.
The use of this program is described in detail in chapter
1. The program will be needed whenever you build a controller requiring correction
caps.
Step by Step Through the Listing
The internal capacitor value and the maximum paddle value for a computer
are set (line 18). This is the only line that will have to be changed to use
this program for computers other than the Apple. The constant for the system
is then calculated (line 19).
Information about the program is displayed (lines 35
to 160), and you are given the choice of automatic or manual operation (line
164). For automatic mode, you must plug the completed controller without correction
caps into the game I/O connection and set the pots to their maximum values
before you run the program.
If you choose manual operation, execution continues
with a request for the maximum pot value of the new device in K-ohms (lines
170 to 175). A check is then made for too large or too small a pot value
(lines 180 to 190). The correction cap is calculated (lines 200, 205) and
displayed (line 210). Execution is then returned to the automatic/manual
question (line 164).
If the pot value you provide is too high, correction
caps don't work. The use of an alternative correction resistor is suggested
(lines 320 to 340). The resistor is then calculated (lines 350, 357) and displayed
(line 360). Execution is again returned to the automatic/manual question
(line 164).
If you choose automatic mode, instructions are given
(lines 1000 to 1095). The controller pots are each read, the correction cap
values calculated, and the values displayed in turn (lines 1110 to 1148).
The keyboard is then checked to see if any key has been pressed (line 1160).
If so, the program is ended (line 1170).
Variables
| Variable |
Line |
Description |
| RMX |
18 |
Maximum value of pot for this computer |
| CI |
18 |
Value of cap inside the computer in microfarads |
| NM$ |
18 |
Name of computer |
| K |
19 |
Constant for the computer system |
| MA$ |
164 |
Choice between manual or automatic modes |
| R |
175 |
Maximum value of pot in new controller |
| C |
200 |
Value of correction cap in microfarads |
| RC |
350 |
Value of correction resistor in K-ohms |
| P0 |
1110 |
Reading for game control 0 |
| C0 |
1115 |
Correction cap for game control 0 |
| P1 |
1120 |
Reading for game control 1 |
| C1 |
1125 |
Correction cap for game control 1 |
| P2 |
1130 |
Reading for game control 2 |
| C2 |
1135 |
Correction cap for game control 2 |
| P3 |
1140 |
Reading for game control 3 |
| C3 |
1145 |
Correction cap for game control 3 |
| Q |
1170 |
Check for keyboard key being pressed |
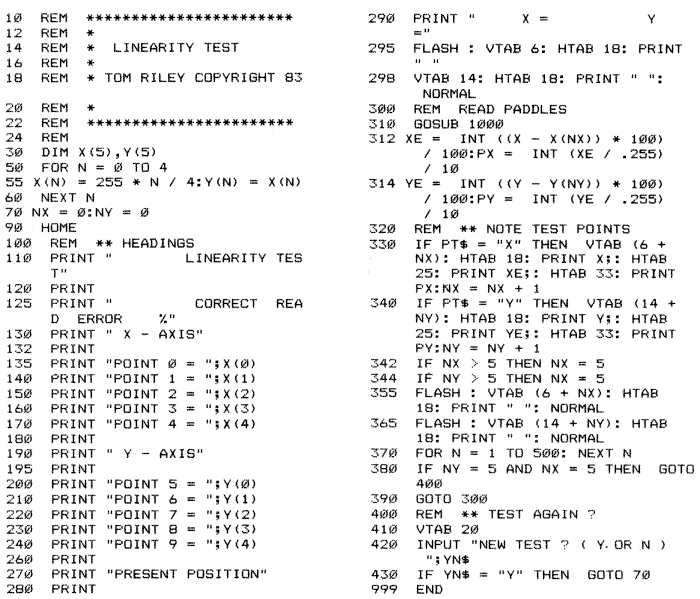
LINEARITY TEST
The Linearity Test checks the linearity of graphic input devices that use
the game control inputs. Linearity is the ability of an input device to transform
a mechanical input (the turning of a paddle) into an electronic input accurately.
The use of this program is described in detail in chapter 5 on the Sketch
Pad. Linearity is essential to sketch pad performance as well as to many other
forms of data entry.
Step by Step Through the Listing
Initial values for constants are set (lines 30 to 70). The display format
is produced (lines 100 to 298). The subroutine (lines 1000 to 1090) for the
game control input reading is then called up (in line 310). The value of the
0 game control input is read and displayed (lines 1010, 1020). The 0 pushbutton
is read and checked to see if RETURN is needed (lines 1027, 1028). Game control
#1 input is read and displayed (lines 1030, 1040). Pushbutton #1 is read
and checked to see if RETURN is needed (lines 1070, 1080). The subroutine
is then repeated (line 1090).
The errors and precentage error of full scale are calculated
and rounded off to two decimal places (lines 312, 314). A check is then made
to determine which pushbutton was pressed, and the values are displayed (lines
330, 340). The axes are checked to see if they are complete (lines 342, 344)
and the flashing cursors are moved (lines 355, 365). There is a slight pause
(line 370) and execution is sent either to a new test question (line 380)
or returned (line 390) to the subroutine.
Variables
| Variable |
Line |
Description |
| X(5) |
30 |
A vector of the correct values in the X axis |
| Y(5) |
30 |
A vector of the correct values in the Y axis |
| NX |
70 |
Number of the X point being read (0 to 5) |
| NY |
70 |
Number of the Y point being read (0 to 5) |
| XE |
312 |
Error in X axis reading |
| PX |
312 |
Percentage error in X axis reading |
| YE |
314 |
Error in Y axis reading |
| PY |
314 |
Percentage error in Y axis reading |
| PT$ |
330 |
String telling if point is on X or Y axis |
| YN$ |
420 |
String answering YES/NO questions |
| X |
1010 |
Reading of game control 0 |
| P0B |
1027 |
Reading of pushbutton 0 |
| Y |
1030 |
Reading of game control 1 |
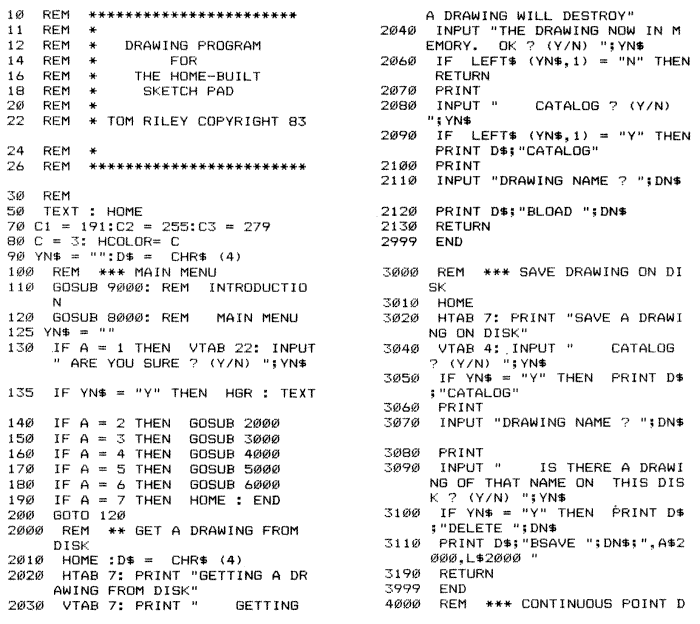
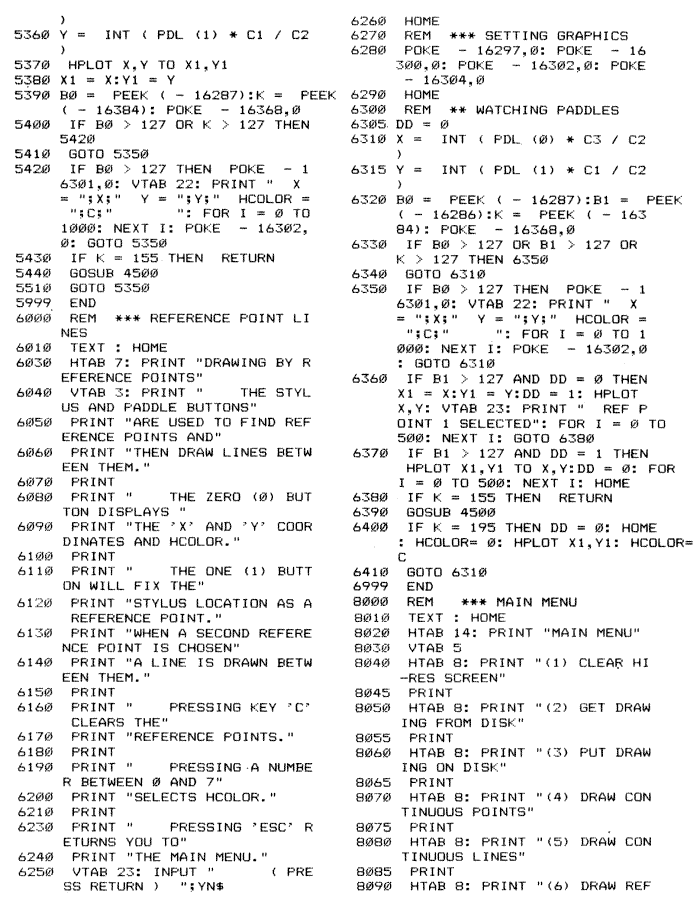
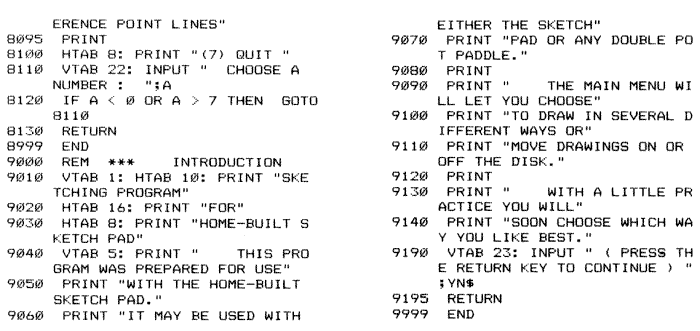
DRAWING PROGRAM
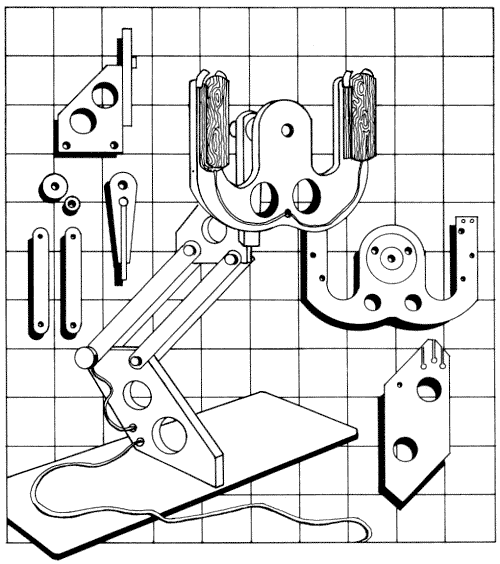
Using this program you can draw directly into the hi-res screen with any
paddle, joystick, or controller. It was written for the Sketch Pad controller
and is described in detail in chapter 4.
Sections
This program uses a Main Menu to direct execution to any of six subroutines:
1 Clears High Res Screen (lines 130 to 135)There is also a Main Menu subroutine (lines 8000 to 8130) and an Introduction (lines 9000 to 9195). The program enters the graphics mode by poke commands (lines 5210, 6280) so that the screen is not erased when you are switching from one drawing to another. The many REM statements should help you follow the flow of the program.
2 Gets Drawing From Disk (lines 2000 to 2130)
3 Puts Drawing on Disk (lines 3000 to 3190)
4 Draws Continuous Points (lines 4000 to 4155)
5 Draws Continuous Lines (lines 5000 to 5210)
6 Draws Reference Point Lines (lines 6000 to 6410)
In each of the three drawing programs, information is displayed (lines 4000 to 4150) and then graphics are set (line 4210). The game control inputs 0 and 1 are read (lines 4320, 4330) and plotted (line 4340). The keyboard is checked to see if a return to the main menu is called for (line 4350). Pushbutton 0 is then checked to see if HCOLOR needs changing (line 4400) and the subroutine is repeated. The other two drawing routines are almost identical.
Variables
| Variable |
Line |
Description |
| C1 |
70 |
Picture elements in the Y axis |
| C2 |
70 |
Maximum game control reading |
| C3 |
70 |
Picture elements in the X axis |
| C |
80 |
Current value of HCOLOR |
| YN$ |
90 |
Answer to YES/NO questions |
| D$ |
90 |
Control D |
| A |
130 |
Main Menu selection number |
| DN$ |
2110 |
File name of drawing |
| X |
4320 |
Current value of game control 0 |
| Y |
4330 |
Current value of game control 1 |
| B0 |
4350 |
Reading of pushbutton 0 |
| K |
4350 |
Reading of key that has been pressed |
| B1 |
6320 |
Reading of pushbutton 1 |
| X1 |
6360 |
Last reference value of X |
| Y1 |
6360 |
Last reference value of Y |
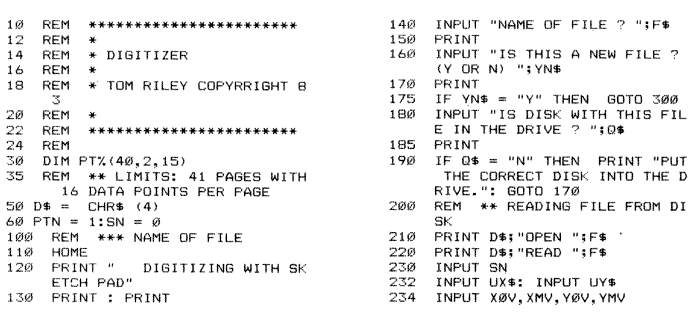
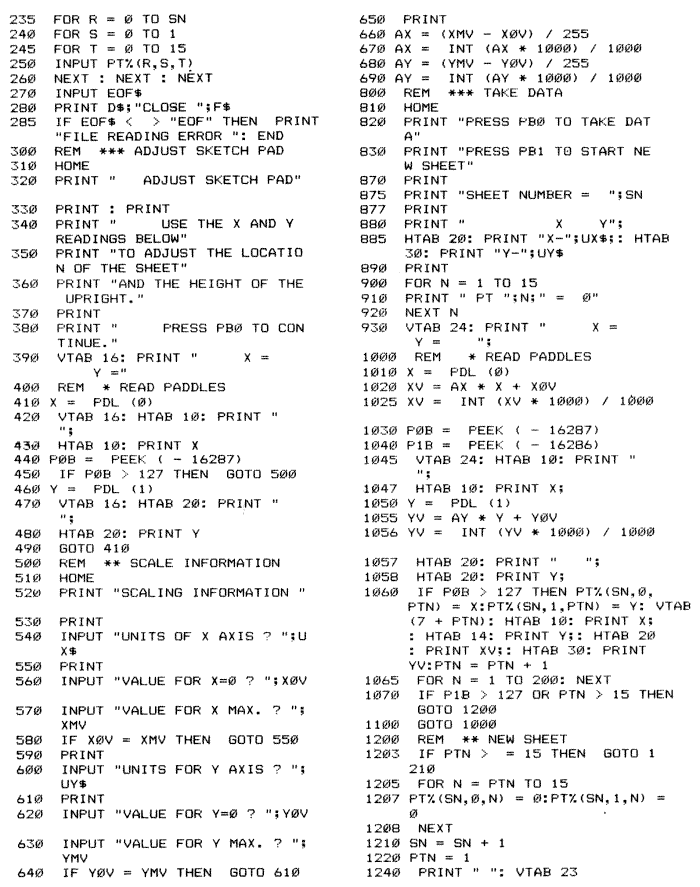
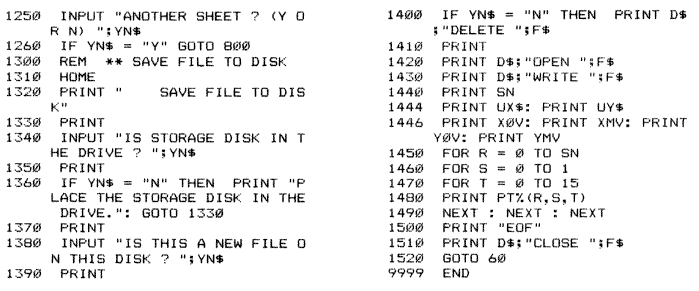
DIGITIZING
With this program you can enter data from charts and graphs directly into
your computer with the Sketch Pad. The use of the program is explained in
detail in chapter 4, along with the information on building the Sketch Pad.
Step by Step Through the Listing
An array is first dimensioned to hold the data in memory (line 30). The
input is limited to 41 pages with 16 data points per page, but these limits
may be changed depending on available memory. The disk file name is requested
(lines 100 to 150): if the file is old the disk is read (lines 200 to 285)
and an End of File marker is sought (line 285).
An adjustment procedure is run (lines 300 to 400) for
moving the height of the upright and locating the correct position for the
charts on the drawing board. The game control inputs are read and displayed
(lines 400 to 490) to aid in these adjustments.
The units and limits for each axis are entered (lines
500 to 690) and scaling constants calculated (lines 660 to 690). Data taking
is then begun (lines 800 to 1260), information is given (lines 810 to 830),
and the format is displayed (lines 870 to 930). The game control inputs are
again read and displayed (lines 1000 to 1058). If pushbutton 0 has been pressed,
the data point is recorded and the index increased by 1 (line 1060). There
is a short delay (line 1065). If pushbutton 1 has been pressed, execution
is directed to the new sheet section (lines 1200 to 1260). If not, execution
is directed back to read a new point (line 1100).
The new sheet section zeros all unused points on the
current sheet (lines 1205 to 1208) and adjusts the indexes (lines 1210, 1220).
If another sheet is requested (line 1250), execution returns to data taking
(line 1260). If no new sheet is requested, the file-to-disk storage function
is entered automatically (lines 1300 to 1520). If you want to know the structure
of the disk file, it can most readily be seen from the disk storage routine
(lines 1420 to 1510). The disk file structure can be adjusted to suit your
needs.
Variables
| Variable |
Line |
Description |
| PT% |
30 |
An integer array of the data point readings |
| D$ |
50 |
Control D |
| PTN |
60 |
The number of the point |
| SN |
60 |
The number of the sheet |
| F$ |
140 |
The name of the disk file for the data |
| YN$ |
160 |
The answer to YES/NO questions |
| Q$ |
180 |
A second YES/NO answer |
| UX$ |
232 |
Units of the X axis |
| UY$ |
232 |
Units of the Y axis |
| X0V |
234 |
Value of the 0 point on the X axis |
| XMV |
234 |
Value of the 255 point on the X axis |
| Y0V |
234 |
Value of the 0 point on the Y axis |
| YMV |
234 |
Value of the 255 point on the Y axis |
| EOF$ |
270 |
End of File marker |
| X |
410 |
Reading of game control 0 |
| P0B |
440 |
Reading of pushbutton 0 |
| Y |
460 |
Reading of game control 1 |
| AX |
660 |
Conversion ratio for X axis |
| AY |
680 |
Conversion ratio for Y axis |
| XV |
1020 |
Current value of X |
| YV |
1055 |
Current value of Y |
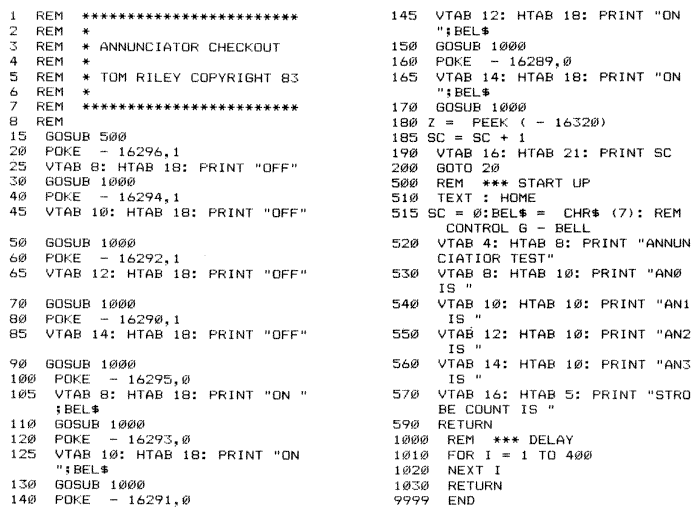
ANNUNCIATOR TEST
With the Annunciator Test program you can test new controllers that use
the Apple's four annunciator outputs (pins 13, 14, 15, 16) or the strobe
(pin 5). One such device is the Computer Controlled AC Outlet, described
in chapter 12. The test program turns these outputs on and off at a slow,
steady pace and shows their status on the screen. You can then compare the
output of your new controller with the status of the computer's output.
Step by Step Through the Listing
Execution is first directed (line 15) to the start up subroutine (lines
500 to 590), which displays the format on the screen. Each annunciator in
turn is switched off, with a pause between each step (lines 20 to 85). They
are turned on again in sequence, and the keyboard bell is sounded (lines
100 to 170) to indicate that a sequence is complete.
The strobe is pulsed and a count kept of the total number
of pulses (lines 180 to 190). The entire process is then repeated in an endless
loop (line 200).
Variables
| Variable |
Line |
Description |
| Z |
180 |
Dummy variable for pulsing strobe |
| SC |
185 |
Count of total strobe pulses |
| BEL$ |
515 |
Control G, which rings bell |
Return to Table of Contents | Previous Chapter
